Introduction
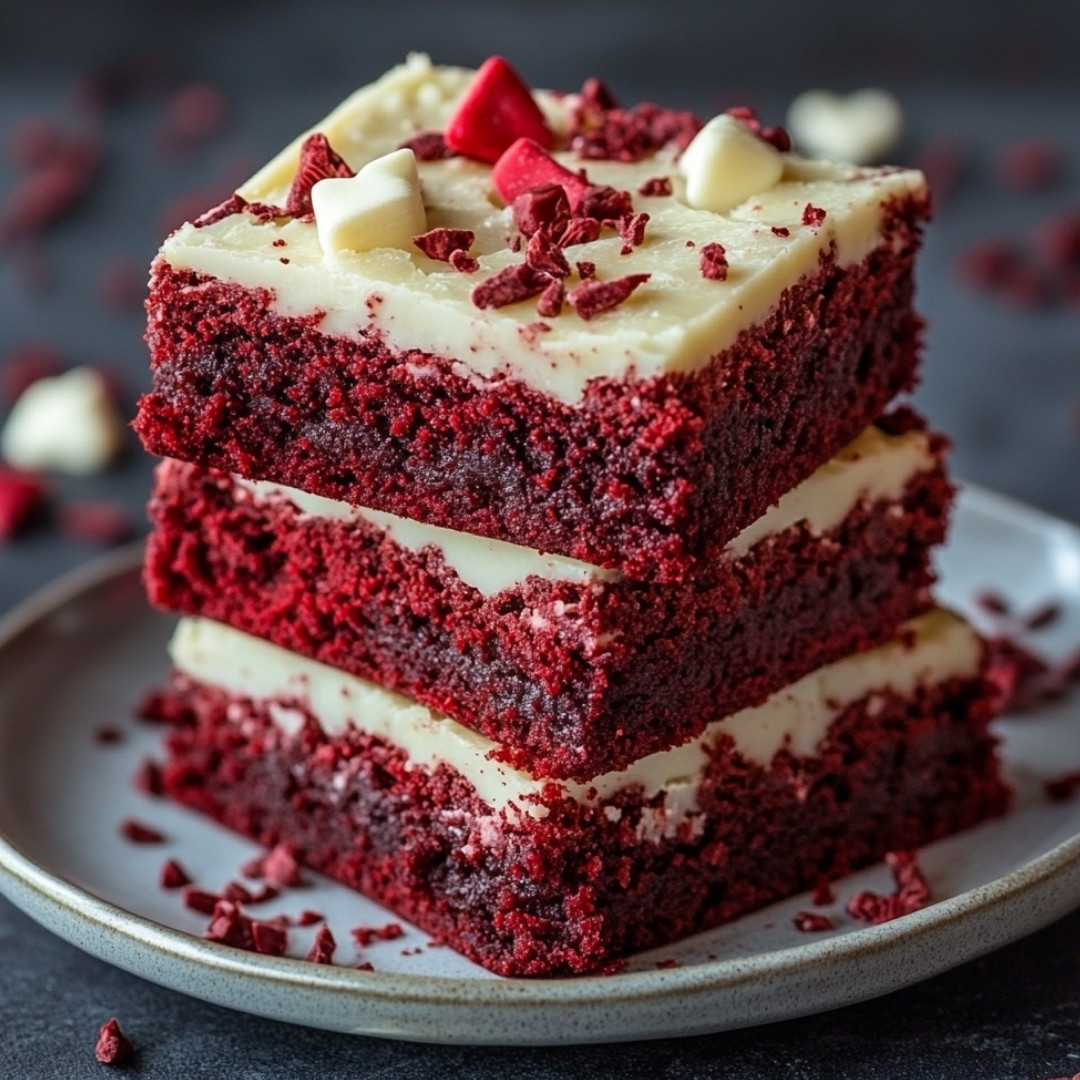
Cooking is more than just preparing food; it’s about creating memories and sharing moments that linger long after the last bite. The Red Velvet Brownies Recipe is one of those delightful treats that can bring people together. Imagine the joy on loved ones’ faces when they take their first taste of these rich, decadent brownies, with that signature red velvet twist. It’s a simple way to show you care, whether you’re celebrating a special occasion or just brightening someone’s day.
As you whip up this recipe, you’re not just combining ingredients; you’re also stirring up feelings of nostalgia and warmth. Each brownie can spark conversation, laughter, and shared stories around the table. These red velvet brownies aren’t just desserts; they hold the power to transform an ordinary day into something extraordinary, making every bite a cherished memory in the making.
Detailed Ingredients
- 1 cup of all-purpose flour
- 1/2 cup of unsweetened cocoa powder
- 1 cup of sugar
- 1/2 cup of butter, softened
- 2 large eggs
- 1 tablespoon of red food coloring
- 1 teaspoon of vanilla extract
- 1/2 teaspoon of baking powder
- 1/2 teaspoon of salt
- 1/2 cup of cream cheese, for frosting
- 1/4 cup of powdered sugar, for frosting
Preparation Time
- Prep Time: 15 minutes
- Cook Time: 25 minutes
- Total Time: 40 minutes
- Yield: 12 brownies
Why we love this recipe
These brownies are incredibly rich and moist, offering a perfect balance of sweet and tangy flavors. The creamy frosting adds just the right touch, making each bite incredibly satisfying. Every square is like a warm hug on a plate, ensuring everyone feels a little happier. It’s a recipe that’s perfect for sharing during gatherings or simply indulging in during a cozy night at home. Best of all, they are straightforward to make, ensuring that even novice bakers can whip up a batch without stress.

Step-by-Step Cooking Instructions
Now that you’ve gathered all the essential ingredients and kitchen tools, it’s time to transform these simple components into mouthwatering red velvet brownies that are sure to impress. Follow these steps for decadent, rich brownies that will send your taste buds soaring.
Step 1: Preheat the Oven
Begin this delightful journey by preheating your oven to 350°F (175°C). This step is crucial as it ensures the brownies bake evenly, delivering that perfect gooey texture. Don’t forget to grease your baking pan with a bit of butter or cooking spray—this small act will ensure your brownies slide out easily once they are baked to perfection.
Step 2: Mix the Wet Ingredients
Grab a mixing bowl and combine the melted butter and sugar; whisk them together until you achieve a smooth mixture. Then, add in the eggs, one by one, and stir vigorously. This process is about creating a luscious base for your brownies. Don’t rush! Take your time to blend in the vanilla extract; its delightful aroma will elevate this batch to a whole new level.
Step 3: Add the Dry Ingredients
In a separate bowl, whisk together the flour, cocoa powder, and salt. Gradually add this dry mixture to your wet ingredients. Mix gently! The goal is to combine these elements without over-mixing. You want a thick, velvety batter that will give your brownies that signature red velvet texture.
Step 4: Fold in the Red Velvet Magic
This is the moment when your brownies transform! Add the red food coloring to your batter and gently fold it in. Watch as your mixture turns a vibrant shade of red. It’s a visual treat! If you’re feeling adventurous, consider adding some white chocolate chips for an extra layer of flavor—just fold them in lightly.
Step 5: Bake to Perfection
Pour your rich, red batter into the prepared baking pan, spreading it evenly with a spatula. Slide it into the preheated oven and let the magic happen! Bake for around 25 to 30 minutes, but be vigilant. The brownies are done when a toothpick inserted in the center comes out with a few moist crumbs.
Step 6: Cool and Serve
Once baked, remove the pan from the oven and let the brownies cool in the pan for about 10 minutes. The anticipation will be worth it! Carefully lift them out and place them on a wire rack to cool completely. You can cut these beauties into squares while still warm or wait until they are room temperature for perfect slices.
Notes
Let It Cool
Allowing the brownies to cool not only prevents burns but also ensures that they set properly. This results in the fudginess that is so coveted in brownies.
Storage Tips
To keep your brownies delicious for longer, store them in an airtight container at room temperature. They can also be refrigerated for a longer lifespan, but be prepared for them to be slightly firmer.
Customization Options
Feel free to experiment! Adding nuts can give a delightful crunch, while a sprinkle of sea salt on top just before serving can enhance the chocolate flavor beautifully. Make it your own!
Why Red Velvet Brownies Are a Must-Try
These red velvet brownies are more than just a dessert; they are an experience. Perfect for sharing at parties or enjoying on a cozy night in, their rich flavor and eye-catching color make them irresistible. Each bite is a celebration, leaving you and your guests wanting more.
Perfect for Any Occasion
Whether it’s a birthday, holiday, or just a regular Tuesday, these red velvet brownies are sure to brighten up the day. Their unique coloring adds a festive touch, making them suitable as a delightful dessert any time of year.
Elevate Your Baking Game
Trying out this recipe gives you an opportunity to hone your baking skills. It’s a simple, yet rewarding process, and each step teaches you about flavor combination and texture. Plus, the satisfaction of pulling freshly baked brownies out of the oven is unparalleled. Prepare to wow your friends and family!

Cook Techniques
Mixing Ingredients
To ensure a smooth and well-integrated brownie batter, start by creaming the butter and sugar until light and fluffy. Then, add eggs one at a time, fully incorporating each before adding the next. This method helps to create a rich texture.
Baking Temperature and Time
Baking the brownies at the right temperature is crucial. Usually, a temperature of 350°F leads to a perfectly baked brownie. Careful monitoring of baking time allows you to achieve a gooey center while ensuring the edges are set, typically around 25-30 minutes.
Cooling Process
Allow the brownies to cool in the pan before cutting. This step helps them firm up, making it easier to achieve clean cuts. If you prefer a fudgier texture, try reducing the cooling time slightly.
Serving and Presentation Ideas:
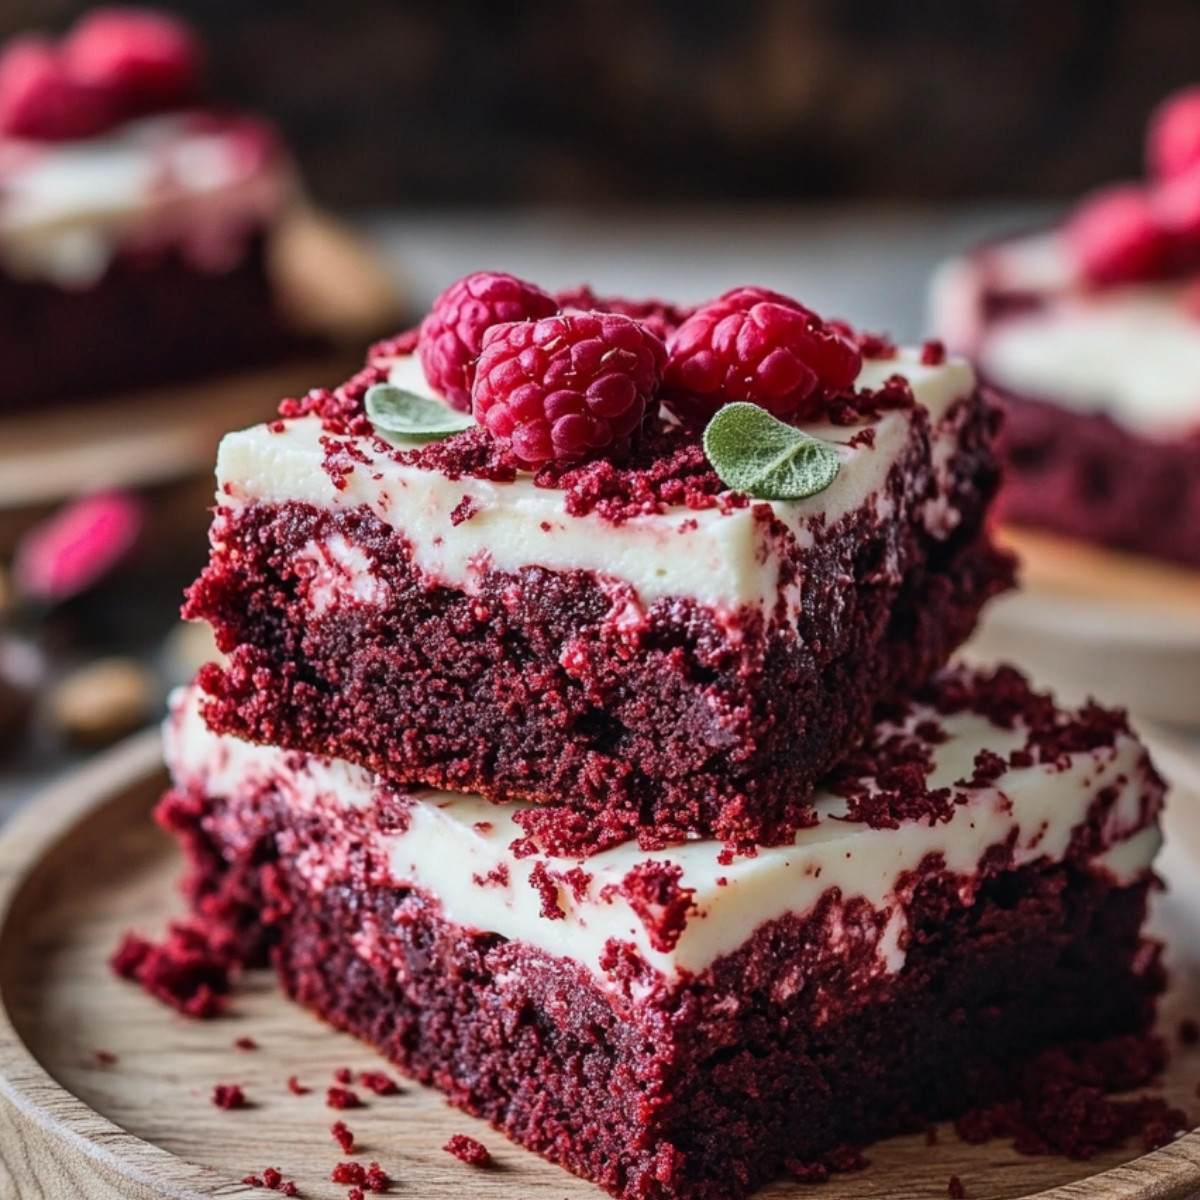
Serve the red velvet brownies on a decorative platter, garnished with a dusting of powdered sugar or a drizzle of cream cheese frosting. Pair these brownies with a scoop of vanilla ice cream or a dollop of whipped cream for added indulgence. For a festive touch, consider placing fresh raspberries or strawberries beside them.
People Also Ask:
What can I add to brownie mix to make it taste better?
Enhancing brownie mix can be done by adding espresso powder, vanilla extract, or even a pinch of cinnamon. You could also mix in nuts or chocolate chips for added texture.
Why did my brownies turn into a cake?
Brownies may turn cake-like if overmixed or baked too long. Ensure you follow the baking time closely, and mix ingredients just until combined to maintain that fudgy texture.
How to store red velvet brownies?
These brownies should be stored in an airtight container at room temperature for up to 3 days. For longer storage, refrigerate them, which can extend their freshness for about a week.
Can you dye brownies red?
Yes, using red food coloring is a great way to enhance the color of brownies. Adding it to the batter creates a striking appearance without altering the flavor significantly.
Conclusion
Red velvet brownies are a delightful fusion of sinfully rich chocolate and the signature hue of red velvet. Baking these treats invites a sweet aroma into your kitchen, warming the hearts of family and friends alike. Whether they are for a special occasion or just a cozy night in, these brownies ensure every bite is a celebration. We welcome your thoughts, experiences, or any creative variations you’ve tried—what special touches do you add to your brownies?
FAQ
Can I use a different type of flour?
Yes, using alternatives like almond flour or gluten-free flour can work. Just keep in mind that the texture may vary.
How can I achieve a brighter red color?
Using gel food coloring instead of liquid dye typically yields a more vibrant red color in the brownies.
Can I freeze these brownies?
Absolutely! You can freeze red velvet brownies by wrapping them tightly in plastic wrap, which helps preserve their taste and texture for up to three months.
Are these brownies suitable for a specific diet?
They can be adapted for various diets, such as gluten-free or vegan, by substituting ingredients thoughtfully based on dietary restrictions.


Red Velvet Brownies Recipe
- Total Time: 40 minutes
- Yield: 12 brownies 1x
Description
These Red Velvet Brownies are rich, fudgy, and have the perfect balance of chocolate and vanilla flavors with a gorgeous red color. Topped with a luscious cream cheese frosting, they’re irresistible!
Ingredients
- 1 cup of all-purpose flour
- 1/2 cup of unsweetened cocoa powder
- 1 cup of sugar
- 1/2 cup of butter, softened
- 2 large eggs
- 1 tablespoon of red food coloring
- 1 teaspoon of vanilla extract
- 1/2 teaspoon of baking powder
- 1/2 teaspoon of salt
- 1/2 cup of cream cheese, for frosting
- 1/4 cup of powdered sugar, for frosting
Instructions
Begin this delightful journey by preheating your oven to 350°F (175°C). This step is crucial as it ensures the brownies bake evenly, delivering that perfect gooey texture. Don’t forget to grease your baking pan with a bit of butter or cooking spray—this small act will ensure your brownies slide out easily once they are baked to perfection.
Grab a mixing bowl and combine the melted butter and sugar; whisk them together until you achieve a smooth mixture. Then, add in the eggs, one by one, and stir vigorously. This process is about creating a luscious base for your brownies. Don’t rush! Take your time to blend in the vanilla extract; its delightful aroma will elevate this batch to a whole new level.
In a separate bowl, whisk together the flour, cocoa powder, and salt. Gradually add this dry mixture to your wet ingredients. Mix gently! The goal is to combine these elements without over-mixing. You want a thick, velvety batter that will give your brownies that signature red velvet texture.
This is the moment when your brownies transform! Add the red food coloring to your batter and gently fold it in. Watch as your mixture turns a vibrant shade of red. It’s a visual treat! If you’re feeling adventurous, consider adding some white chocolate chips for an extra layer of flavor—just fold them in lightly.
Pour your rich, red batter into the prepared baking pan, spreading it evenly with a spatula. Slide it into the preheated oven and let the magic happen! Bake for around 25 to 30 minutes, but be vigilant. The brownies are done when a toothpick inserted in the center comes out with a few moist crumbs.
Once baked, remove the pan from the oven and let the brownies cool in the pan for about 10 minutes. The anticipation will be worth it! Carefully lift them out and place them on a wire rack to cool completely. You can cut these beauties into squares while still warm or wait until they are room temperature for perfect slices.
Notes
Let It Cool
Allowing the brownies to cool not only prevents burns but also ensures that they set properly. This results in the fudginess that is so coveted in brownies.
Storage Tips
To keep your brownies delicious for longer, store them in an airtight container at room temperature. They can also be refrigerated for a longer lifespan, but be prepared for them to be slightly firmer.
Customization Options
Feel free to experiment! Adding nuts can give a delightful crunch, while a sprinkle of sea salt on top just before serving can enhance the chocolate flavor beautifully. Make it your own!
- Prep Time: 15 minutes
- Cook Time: 25 minutes

