Introduction
Cooking often becomes a cherished ritual, filled with memories and moments that connect us to family traditions and cultural heritage. The Fried Okra Recipe is one such delightful dish that not only brings incredible flavors to your table but also invites warmth and togetherness. Whether you’re creating a special meal to share with loved ones or simply want to enjoy a comforting dish on a quiet evening, this recipe promises to wrap you in the familiar embrace of home-cooked goodness.
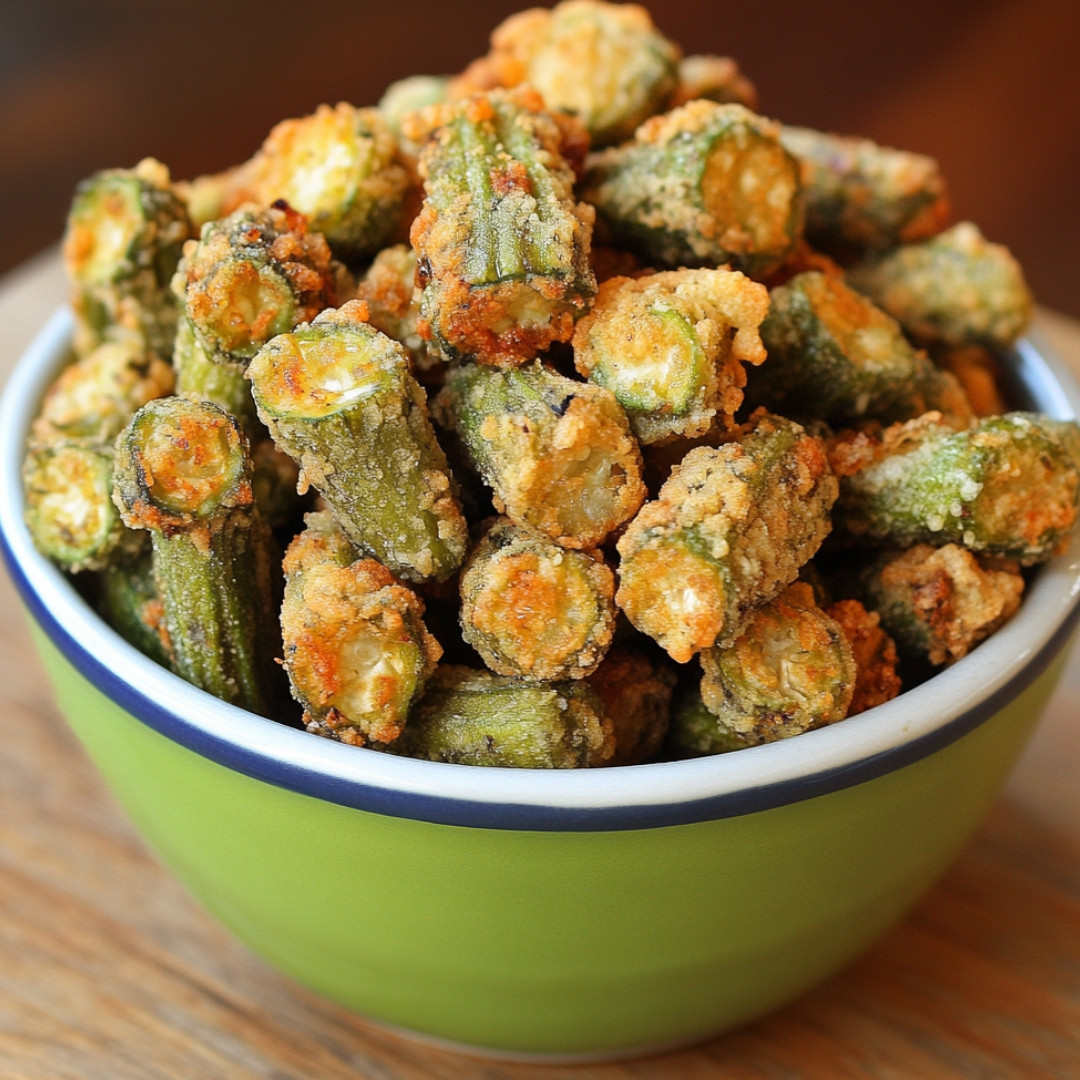
As you prepare this Fried Okra Recipe, you’ll likely find yourself reminiscing about summer dinners on the porch or family gatherings where laughter filled the air. This dish artfully balances a crunchy exterior with tender, savory bites inside, making it a fantastic addition to any meal. By sharing and savoring this recipe, you’re not just providing food; you’re nurturing relationships and creating lasting memories.
Detailed Ingredients with measures
- Okra – 1 pound, fresh or frozen
- All-purpose flour – 1 cup
- Cornmeal – 1/2 cup
- Salt – 1 teaspoon
- Black pepper – 1/2 teaspoon
- Garlic powder – 1/2 teaspoon
- Onion powder – 1/2 teaspoon
- Buttermilk – 1 cup
- Oil – for frying
Preparation Time
- Prep Time: 15 minutes
- Cook Time: 10 minutes
- Total Time: 25 minutes
- Yield: 4 servings
Why we love this recipe
The Fried Okra Recipe stands out with its unforgettable texture. The combination of fresh okra, coated in a crispy mixture of flour and cornmeal, creates that perfect crunch that everyone loves. The seasoning adds a gentle kick, ensuring that each bite is flavorful without overwhelming your palate.
This recipe is also incredibly versatile. You can serve your fried okra as a delightful side dish, an appetizer, or even as a snack throughout the day. Plus, it’s a great way to introduce new flavors to your family while keeping them rooted in comfort and tradition. Making this dish together can also open up conversation and laughter, as kids and adults alike will enjoy the delectable taste and enjoyable cooking process.

Step-by-Step Cooking Instructions
Now that you’ve gathered your ingredients, it’s time to transform these vibrant flavors into a sensational dish that beautifully showcases the unique taste of okra. Follow these steps to create perfectly seasoned and expertly cooked okra, ensuring each bite is a delightful experience.
Step 1: Prepare the Okra
First, begin by washing the okra thoroughly under cool running water. This step is crucial to remove any residual dirt or impurities. Once cleaned, pat the okra dry with a clean kitchen towel. To enhance the dish, slice the okra into half-inch rounds, allowing for even cooking and a delightful presentation. The vibrant green color will be a feast for your eyes!
Step 2: Create the Flavorful Coating
Next, in a large mixing bowl, combine cornmeal, flour, a generous pinch of salt, and any spices of your choice. This mixture will create a deliciously crispy coating for the okra. As you stir the dry ingredients, imagine how this crunchy texture will complement the tender interior of the okra. Feel free to spice it up with cayenne or paprika for an extra kick!
Step 3: Coat the Okra
Now, it’s time to give your okra its flavorful jacket! Take each slice of okra and dredge it into the cornmeal mixture, ensuring it’s fully coated. This step is essential for achieving that satisfying crunch! Shake off any excess coating before placing the pieces onto a baking sheet lined with parchment paper. This will allow for easy cleanup later!
Step 4: Preheat the Oven
While you’re coating the okra, preheat your oven to 425°F (220°C). This temperature is key to getting a crispy finish without compromising the tender texture of the okra. Imagine the aroma filling your kitchen as it gets warm and cozy, making you even more excited to taste your creation.
Step 5: Bake to Perfection
Once the oven is preheated, slide the baking sheet onto the middle rack. Bake the okra for about 20-25 minutes, turning them halfway through. Keep an eye on them, as the goal is a beautiful golden brown color. The sizzle and aroma wafting from the oven will surely entice your taste buds!
Step 6: Serve and Enjoy!
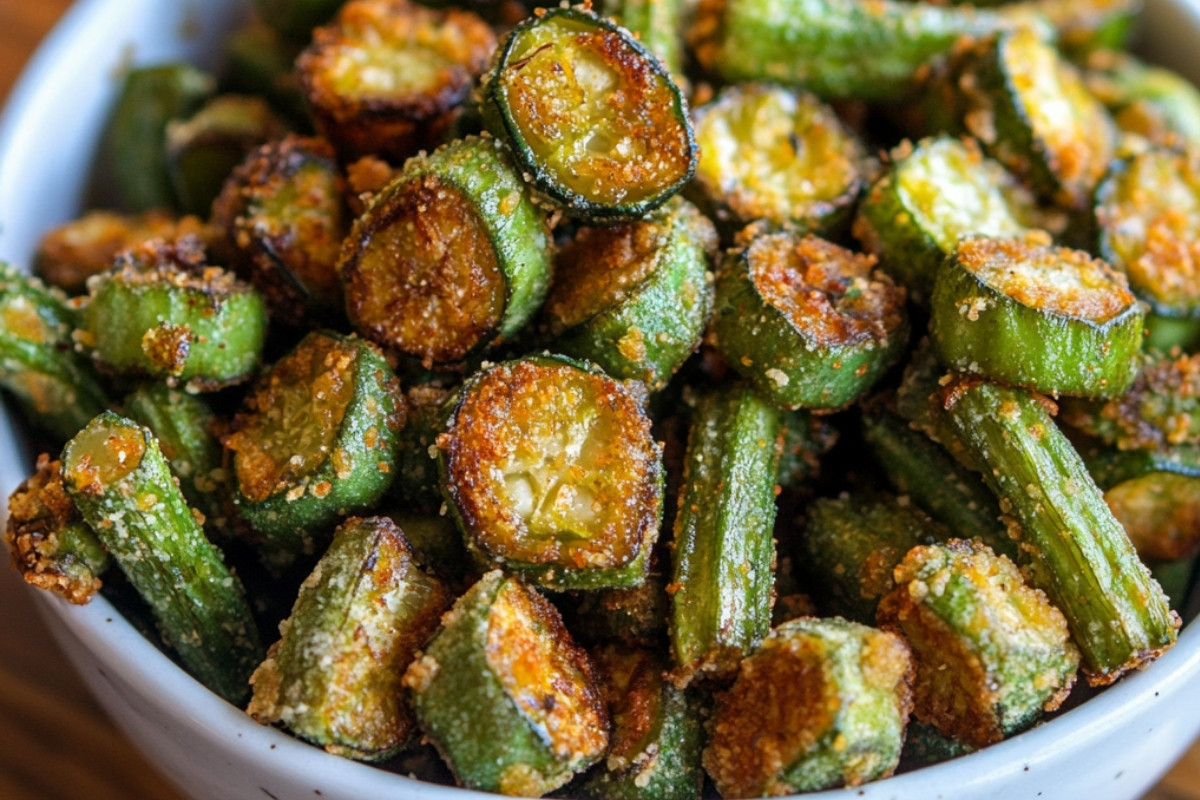
After baking, remove the okra from the oven and let them rest for a few minutes. This will allow the flavors to settle and the crunch to remain intact. Serve the hot okra on a platter, garnished with a sprinkle of fresh herbs for an added pop of color. Enjoy your deliciously crispy and flavorful okra!
Notes
Fresh vs. Frozen
Using fresh okra is recommended for the best flavor and texture. However, if fresh isn’t available, frozen okra works too! Just be sure to thaw and pat them dry to avoid excess moisture.
Spice Level
Adjust the spice level to your preference. Whether you like it mild or spicy, experimenting with seasonings can lead to delightful new flavors.
Enjoying with Dips
These crispy okra pieces pair wonderfully with dips! Consider serving them with a zesty ranch, a tangy yogurt dip, or even a spicy salsa for added flavor and enjoyment.
Exploring Different Seasonings
Don’t be afraid to get creative with your seasonings! The beauty of this okra recipe lies in its versatility. Try adding garlic powder or onion powder to the coating mix for a savory twist. Alternatively, for an international flair, consider mixing in some curry powder or Italian herbs to transport your taste buds around the world!
Pairing Your Dish
This okra recipe makes for a fantastic side dish, but it can also shine as a delightful appetizer! Serve it alongside grilled meats, or make it a star at your next gathering. Pairing it with a light salad can also help balance the richness of the crispy coating.
The Health Benefits of Okra
Okra is not only delicious but also packed with nutrients! This green veggie is rich in vitamins A and C, calcium, and fiber. Eating okra can aid digestion and promote a healthy immune system. So enjoy every bite, knowing you’re savoring something that’s not just tasty but also good for you!

Cook techniques
Prepping the Okra
To reduce sliminess, rinse okra under cold water and dry thoroughly. Cutting them into larger pieces also helps maintain a firmer texture.
Roasting the Okra
Toss the okra with olive oil, salt, and pepper, then spread them in a single layer on a baking sheet. Roasting at a high temperature, around 400°F, achieves a crispy finish.
Seasoning Suggestions
Add various spices such as paprika, garlic powder, and cayenne for extra flavor. You can also consider fresh herbs for a fragrant twist.
Checking for Doneness
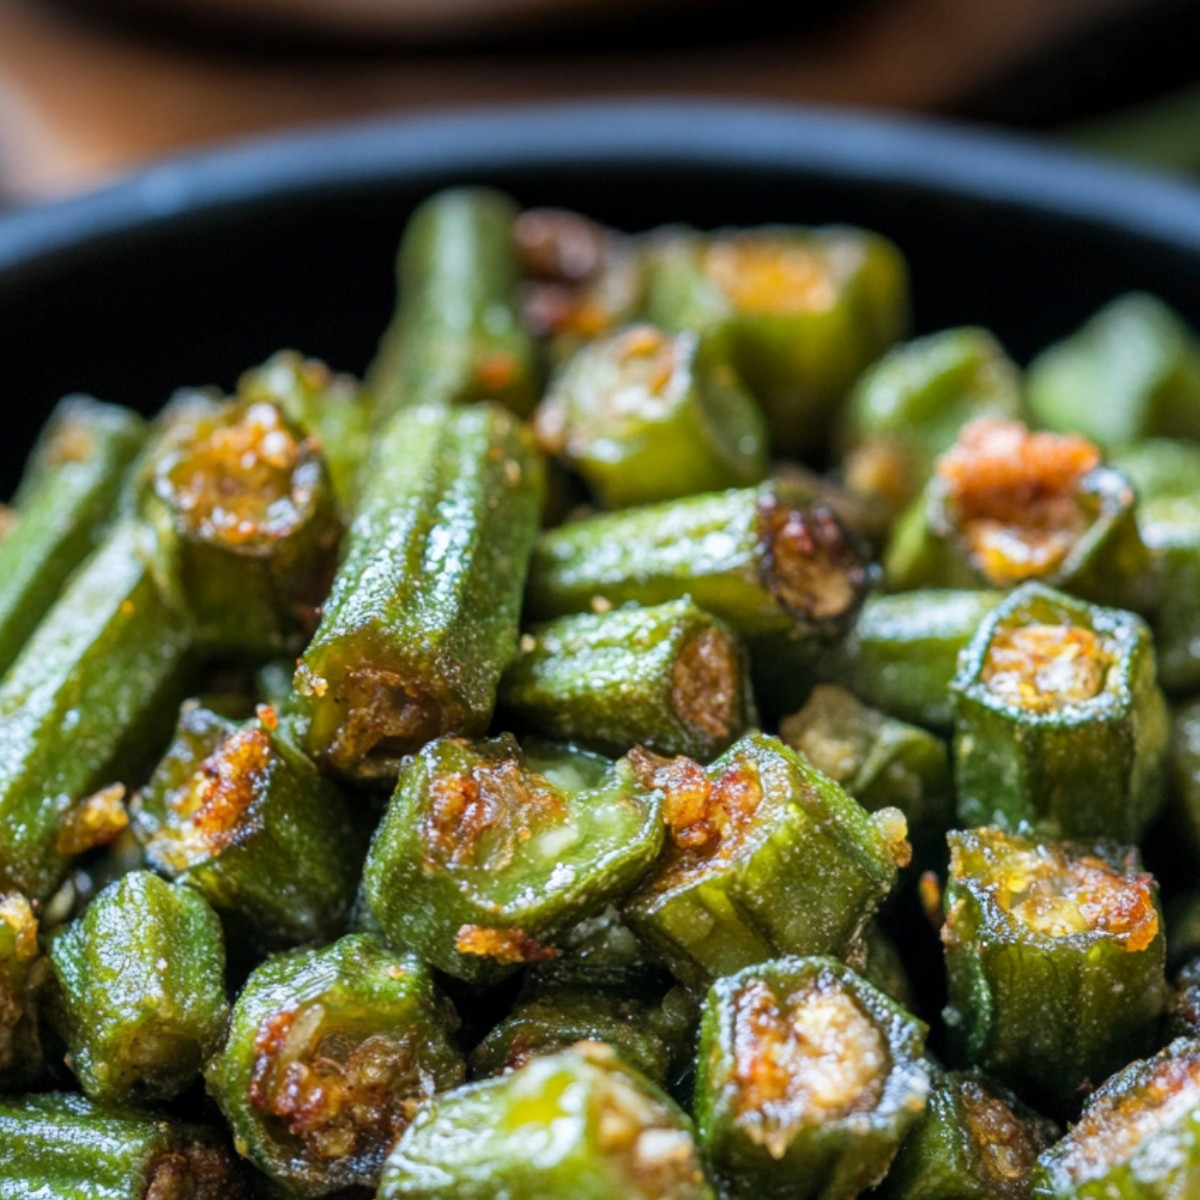
Okra should be tender and crispy with slightly browned edges after roasting, typically taking about 20-25 minutes. Flip them halfway for even cooking.
Serving and Presentation Ideas:
Present roasted okra on a rustic wooden platter garnished with fresh herbs. Pair it with a tangy dipping sauce, such as yogurt or a spicy remoulade, to complement the flavors. Serve alongside grilled meats or as a vibrant addition to salads for a pop of color.
People Also Ask:
How do you cook okra so it is not slimy?
Rinse and dry okra well before cooking, and cut them into thicker pieces. Cooking at high temperatures, such as roasting, helps eliminate sliminess.
Can I use frozen okra for roasting?
Yes, you can use frozen okra. However, it’s best to thaw and pat it dry before roasting to achieve the best texture.
What seasonings work best with roasted okra?
Spices like garlic powder, chili powder, and smoked paprika work wonderfully with roasted okra, enhancing its natural flavors.
How long should I roast okra, and at what temperature?
Roast okra for 20-25 minutes at 400°F, flipping halfway through for even crispiness.
Do I need to cut the okra before roasting?
While you can roast whole okra, cutting them into larger pieces is advisable to minimize sliminess and enhance cooking speed.
Conclusion
Roasting okra provides not just a delightful crunch but also elevates its inherent flavors. Sharing this dish with friends and family can create memorable moments around the table. There’s something special about roasting seasonal vegetables like okra, as they seamlessly fit into various dining experiences. Have you tried roasting okra in different ways, or do you have a favorite seasoning blend? I’d love to hear your thoughts and any unique variations you’ve experimented with!
FAQ
Can I use a different type of oil for roasting okra?
Yes, feel free to use oils like coconut or avocado oil for roasting. Each oil will impart a different flavor.
What is the best temperature for roasting okra?
Roasting okra at a temperature of 400°F is ideal for achieving a crispy texture while preserving tenderness.
Can I add cheese to my roasted okra?
Absolutely! Adding grated cheese just before finishing the roast can create a delicious, cheesy crust.
What other vegetables pair well with okra?
Okra pairs nicely with vegetables like bell peppers, zucchini, and corn, creating a colorful and tasty medley.
How should I store leftover roasted okra?
Store leftover roasted okra in an airtight container in the refrigerator for up to three days. Reheating in the oven helps retain its crispiness.


Fried Okra Recipe
- Total Time: 25 minutes
- Yield: 4 servings
Description
Discover the ultimate comfort food! This crispy fried okra recipe pairs perfectly with fried chicken. Each bite is golden, crunchy, and irresistibly flavorful. Follow these simple steps for a taste of the South in your own kitchen. Serve it as a tasty side dish or snack that everyone will love. Add a twist with your favorite seasonings or dipping sauces. Perfect for any occasion when you crave something crispy and delicious!
Ingredients
- Okra – 1 pound, fresh or frozen
- All-purpose flour – 1 cup
- Cornmeal – 1/2 cup
- Salt – 1 teaspoon
- Black pepper – 1/2 teaspoon
- Garlic powder – 1/2 teaspoon
- Onion powder – 1/2 teaspoon
- Buttermilk – 1 cup
- Oil – for frying
Instructions
First, begin by washing the okra thoroughly under cool running water. This step is crucial to remove any residual dirt or impurities. Once cleaned, pat the okra dry with a clean kitchen towel. To enhance the dish, slice the okra into half-inch rounds, allowing for even cooking and a delightful presentation. The vibrant green color will be a feast for your eyes!
Next, in a large mixing bowl, combine cornmeal, flour, a generous pinch of salt, and any spices of your choice. This mixture will create a deliciously crispy coating for the okra. As you stir the dry ingredients, imagine how this crunchy texture will complement the tender interior of the okra. Feel free to spice it up with cayenne or paprika for an extra kick!
Now, it’s time to give your okra its flavorful jacket! Take each slice of okra and dredge it into the cornmeal mixture, ensuring it’s fully coated. This step is essential for achieving that satisfying crunch! Shake off any excess coating before placing the pieces onto a baking sheet lined with parchment paper. This will allow for easy cleanup later!
While you’re coating the okra, preheat your oven to 425°F (220°C). This temperature is key to getting a crispy finish without compromising the tender texture of the okra. Imagine the aroma filling your kitchen as it gets warm and cozy, making you even more excited to taste your creation.
Once the oven is preheated, slide the baking sheet onto the middle rack. Bake the okra for about 20-25 minutes, turning them halfway through. Keep an eye on them, as the goal is a beautiful golden brown color. The sizzle and aroma wafting from the oven will surely entice your taste buds!
After baking, remove the okra from the oven and let them rest for a few minutes. This will allow the flavors to settle and the crunch to remain intact. Serve the hot okra on a platter, garnished with a sprinkle of fresh herbs for an added pop of color. Enjoy your deliciously crispy and flavorful okra!
Notes
Fresh vs. Frozen
Using fresh okra is recommended for the best flavor and texture. However, if fresh isn’t available, frozen okra works too! Just be sure to thaw and pat them dry to avoid excess moisture.
Spice Level
Adjust the spice level to your preference. Whether you like it mild or spicy, experimenting with seasonings can lead to delightful new flavors.
Enjoying with Dips
These crispy okra pieces pair wonderfully with dips! Consider serving them with a zesty ranch, a tangy yogurt dip, or even a spicy salsa for added flavor and enjoyment.
- Prep Time: 15 minutes
- Cook Time: 10 minutes

