Introduction
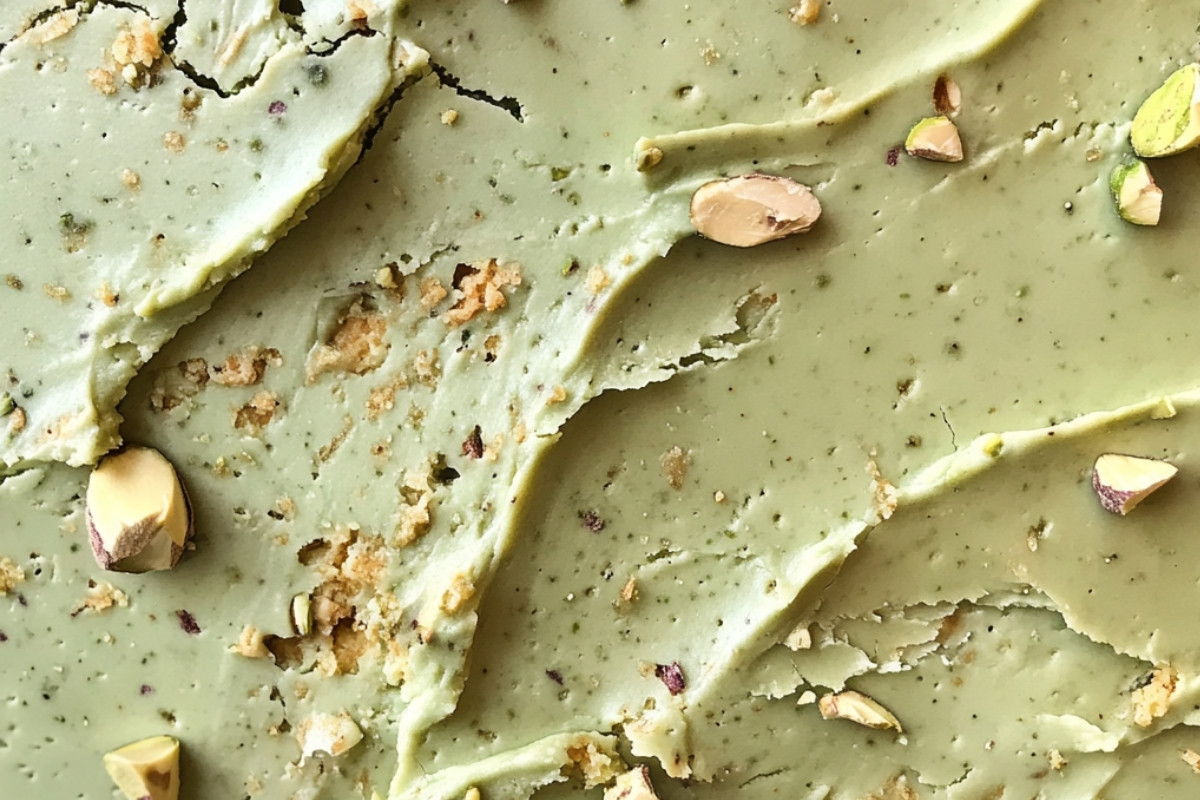
There are moments in life where a sweet treat can uplift our spirits and connect us to cherished memories. Imagine serving a slice of Heavenly Delight Pistachio Cheesecake at a family gathering or a casual get-together with friends. The vibrant green hue of this cheesecake not only makes it visually stunning but also creates an atmosphere filled with joy and laughter. Each bite reveals a unique blend of flavors that can transport you to a peaceful, happy place, reminding you of the little moments that matter.
Why we love this recipe: Pistachio Cheesecake
This Pistachio Cheesecake features a wonderfully smooth filling that melts in your mouth, making it an instant hit for anyone who takes a bite. The unique combination of cream cheese and ground pistachios creates a rich and nutty flavor that is both satisfying and refreshing. Adding a hint of vanilla enhances the overall taste, making every slice a delightful experience.
Easy to make: Pistachio Cheesecake
What sets this Pistachio Cheesecake apart is how simple it is to prepare. With minimal ingredients and straightforward steps, busy parents and professionals will appreciate how quickly it comes together. You don’t need to be a baking expert to impress your guests—this recipe is friendly for all skill levels!
Step-by-Step Cooking Instructions
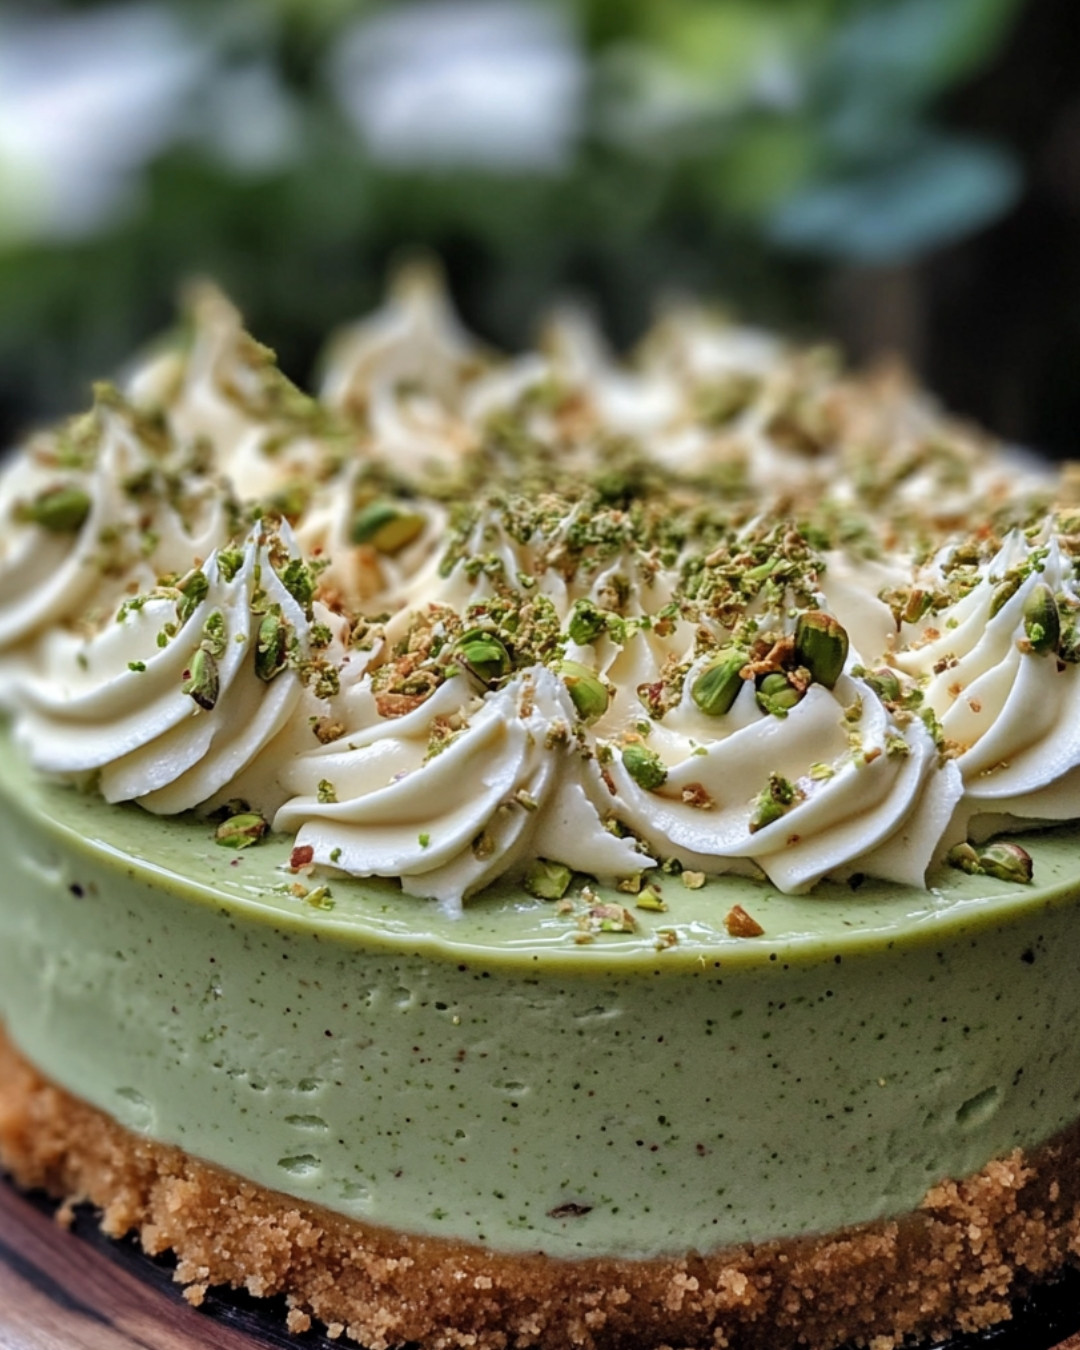
Now that you’ve gathered all the delightful ingredients for your Pistachio Cheesecake, it’s time to transform these components into a delightful dessert that will impress everyone. Follow each step carefully, and soon you will have a creamy, nutty, and utterly irresistible Pistachio Cheesecake that could easily be the star of any gathering!
Step 1: Prepare the Crust
Start by preheating your oven to 350°F (175°C). While the oven warms up, you’ll need to crush some graham crackers to create the base of your crust. Place the crackers in a zip-top bag and use a rolling pin to crush them into fine crumbs. This step is fun and a great stress-reliever! Once crushed, combine the crumbs with melted butter and sugar in a mixing bowl. Mix everything together until the mixture resembles wet sand. Press this mixture firmly into the bottom of a springform pan to create a solid base for your Pistachio Cheesecake. You want to ensure it’s packed tightly!
Step 2: Make the Cheesecake Filling
In another large mixing bowl, beat together cream cheese and sugar until the mixture is smooth and creamy. To achieve the perfect texture, use a hand mixer or stand mixer on medium speed. This is where the magic begins! Afterward, add in your eggs one at a time, mixing well after each addition. Next, stir in the vanilla extract and finely chopped pistachios. The vibrant green bits will add color and flavor to your Pistachio Cheesecake. Mix until everything is well combined, but be careful not to overmix.
Step 3: Combine and Pour
Now it’s time to combine the crust and filling! Pour your creamy cheesecake mixture over the crust in the springform pan. Use a spatula to spread it evenly. Tap the pan gently on the countertop to release any air bubbles. This small step ensures your Pistachio Cheesecake will have a smooth surface that’s just as beautiful as it is delicious.
Step 4: Bake to Perfection
Place your springform pan in the preheated oven and bake for about 45-50 minutes. The cheesecake is done once the edges are set, and the center is slightly jiggly. It will firm up as it cools, so don’t worry if it looks a little wobbly! Envelop your kitchen in the sweet scent of baking as you wait.
Step 5: Cool and Chill
Once baked, remove the cheesecake from the oven and let it cool in the pan for at least an hour. Then, carefully run a knife around the edges to prevent sticking, and refrigerate your Pistachio Cheesecake for at least 4 hours, or overnight for best results. Patience is key here—allowing it to chill will make it easier to slice!
Step 6: Serve and Enjoy
When it’s time to indulge, carefully remove the sides of your springform pan. Slice the Pistachio Cheesecake into beautiful pieces and serve it with dollops of whipped cream or more chopped pistachios for added texture. Savor every bite of your creation, sharing it with friends and family or keeping it all to yourself!
Detailed Directions and Instructions
Step 1: Prepare the Crust
The foundation of your Pistachio Cheesecake is crucial. Preheating the oven sets the stage for consistent baking. As you crush the graham crackers, let yourself enjoy the simple joy of the task. After mixing the crumbs with melted butter and sugar, firmly press the mixture into the springform pan. The key is to compress it well, ensuring a solid crust that holds together after baking.
Step 2: Make the Cheesecake Filling
When mixing cream cheese and sugar, aim for a light and airy texture. Remember to scrape down the bowl to ensure every bit is mixed perfectly. The addition of eggs is another moment of magic—watch as the mixture transforms. Incorporating vanilla and pistachios not only enhances the flavor but also adds beautiful green specks throughout your cheesecake.
Step 3: Combine and Pour
Pouring the filling over the prepared crust is where anticipation builds. Make sure the mixture is evenly distributed to avoid any uneven slices later on. Tapping the pan is a small but necessary step to achieve that perfect, smooth finish.
Step 4: Bake to Perfection
As the cheesecake bakes, enjoy the sweet aroma filling your kitchen. Watching it rise in the oven is thrilling! Remember, it might not look perfect at first, but the cooling process works wonders—just let it be.
Step 5: Cool and Chill
Once out of the oven, exercise a little patience. The cooling period allows the flavors to meld and the texture to achieve that required creaminess. Running a knife along the edges is essential so the sides of the cheesecake don’t stick, ensuring a beautiful presentation.
Step 6: Serve and Enjoy
The final reveal! As you slice into the Pistachio Cheesecake, notice the smooth, creamy texture. Each slice should look inviting—adorn it with whipped cream or pistachios to elevate its appearance. Take a moment to appreciate your hard work, and enjoy sharing this delightful treat!
Notes
Perfect Pairings
Consider serving your Pistachio Cheesecake with fresh fruit, such as raspberries or strawberries. Their tartness complements the creamy, nutty flavors beautifully.
Storage Tips
To maintain freshness, store leftover cheesecake in an airtight container in the refrigerator. It’s delicious cold and can last up to a week!
Customizing Flavors
Feel free to explore flavors by adding different nuts or a hint of lemon zest to the cheesecake batter. Each variation can infuse your creation with a personal touch.
Elevate Your Dessert Game
Creating a stunning dessert like Pistachio Cheesecake not only fills your home with mouthwatering scents but also brings a sense of accomplishment. As you master the art of cheesecake, consider experimenting with various toppings and different types of nuts or flavors. Each attempt will bring you closer to discovering your favorite.
Your Perfect Event Dessert
Whenever you have a gathering or celebration, a homemade Pistachio Cheesecake will undoubtedly elevate the occasion. Not only does it taste incredible, but its beautiful green hue and creamy texture make it an eye-catching centerpiece.
Gathering Family Around the Table
Preparing a Pistachio Cheesecake isn’t just about the dessert; it’s about creating memories with friends and family. Enjoy the process, share stories, and delight in the joy of togetherness over a slice of this indulgent treat. The act of cooking together can make any gathering feel special and warm, perfect for making lasting connections.
Common Mistakes to Avoid
When making your Pistachio Cheesecake, avoid overmixing after adding the eggs, as this can lead to cracks during baking. Additionally, ensure your cream cheese is at room temperature for a smooth filling. Lastly, refrain from opening the oven door while baking—each peek lets out heat, potentially affecting the consistency of your cheesecake!
Key ingredients
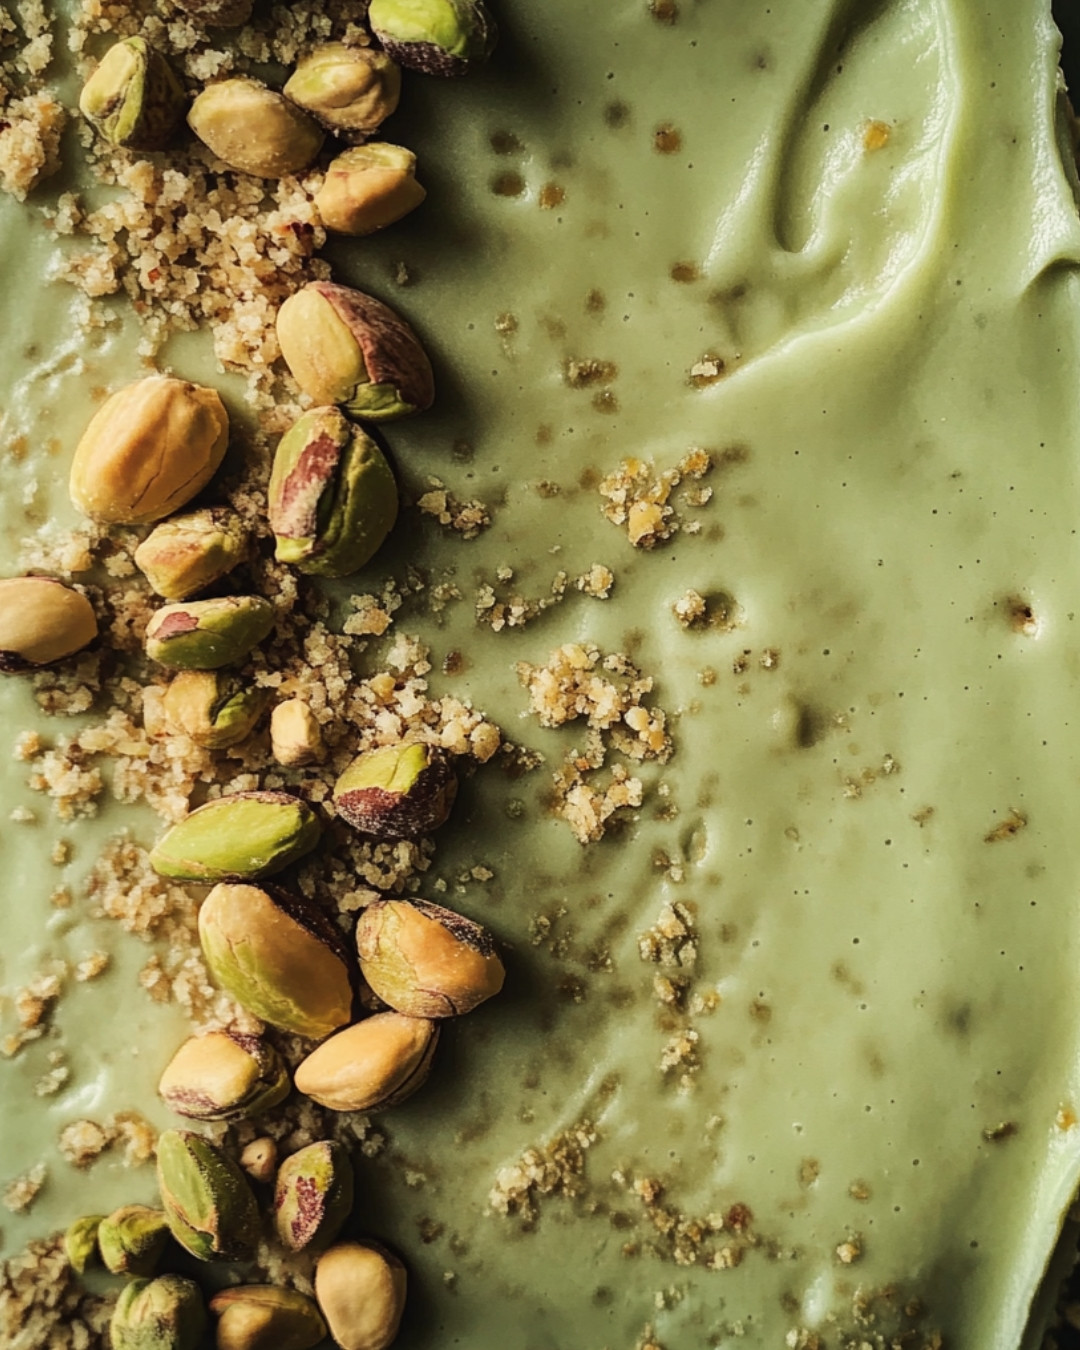
- 1 ½ cups crushed pistachios
- ½ cup unsalted butter, melted
- 2 cups cream cheese, softened
- 1 cup powdered sugar
- 1 teaspoon vanilla extract
- 1 cup heavy cream
- 1 tablespoon lemon juice
- ½ teaspoon salt
- ½ cup pistachios, chopped (for garnish)
Preparation Time
- Prep Time: 20 minutes
- Cook Time: 60 minutes
- Total Time: 1 hour 20 minutes
- Yield: 8 servings
Cook techniques
Creating the Crust
Start by finely crushing the biscuits to ensure a smooth texture. Mixing the crumbs with melted butter will help achieve the perfect consistency for the crust that binds well and holds its shape.
Making the Cheesecake Filling
When preparing the filling for the Pistachio Cheesecake, ensure that the cream cheese is at room temperature. This will allow for a smoother blend, making the filling creamy and rich without lumps.
Baking the Cheesecake
For best results, bake the Pistachio Cheesecake in a water bath. This technique prevents cracking and ensures even cooking, resulting in a beautifully textured dessert.
Cooling and Setting
After baking, make sure to let the cheesecake cool in the oven with the door ajar. This gradual cooling process helps prevent sudden temperature changes that can lead to cracks.
Serving and Presentation Ideas:
To present the Pistachio Cheesecake beautifully, consider dusting the top with crushed pistachios or placing whole pistachios around the edge. Drizzling a light caramel or chocolate sauce can also enhance the appearance and flavor. Serve alongside fresh berries or a scoop of vanilla ice cream for a delightful contrast.
People Also Ask :
What pairs well with pistachio cheesecake? A great pairing includes fresh berries or a tangy berry sauce, which complements the rich flavors of the Pistachio Cheesecake.
What is so special about cheesecake? Cheesecake offers a unique texture and a rich, creamy flavor that can be customized with various toppings and bases, making it a versatile dessert choice.
Why do so many people like cheesecake? Many enjoy cheesecake due to its creamy texture and the ability to create countless flavor variations, appealing to a wide range of taste preferences.
What is a good description for cheesecake? Cheesecake is a smooth and rich dessert, typically made with cream cheese, sugar, and a biscuit crust, offering a delightful combination of creamy and crunchy textures.
FAQ
Can I use a different type of cracker?
Yes, you can use other types of crackers like graham crackers or even gluten-free options if preferred for the crust of the Pistachio Cheesecake.
How do I know when the cheesecake is done?
The cheesecake is done when the edges are set but the center remains slightly wobbly. It will continue to firm up as it cools.
Can I freeze the pistachio cheesecake?
Yes, the Pistachio Cheesecake can be frozen for up to three months. Ensure it’s tightly wrapped to maintain freshness.
How can I make my cheesecake more flavorful?
Adding extracts like vanilla or almond, or incorporating fresh ingredients such as citrus zest, can enhance the flavor of your Pistachio Cheesecake.
Conclusion
Crafting a delightful Pistachio Cheesecake not only satisfies your sweet cravings but also fills your kitchen with warmth and joy. Each step, from creating the crust to the final presentation, invites creativity and personal touch. This dessert brings people together, making it ideal for gatherings or personal indulgence. It’s always rewarding to see how recipes can evolve through personal experiences. I would love to hear your thoughts! How did your Pistachio Cheesecake turn out, and what unique twists did you add?
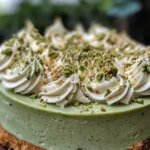
Heavenly Delight Pistachio Cheesecake
- Total Time: 1 hour 20 minutes
- Yield: 8 servings 1x
Description
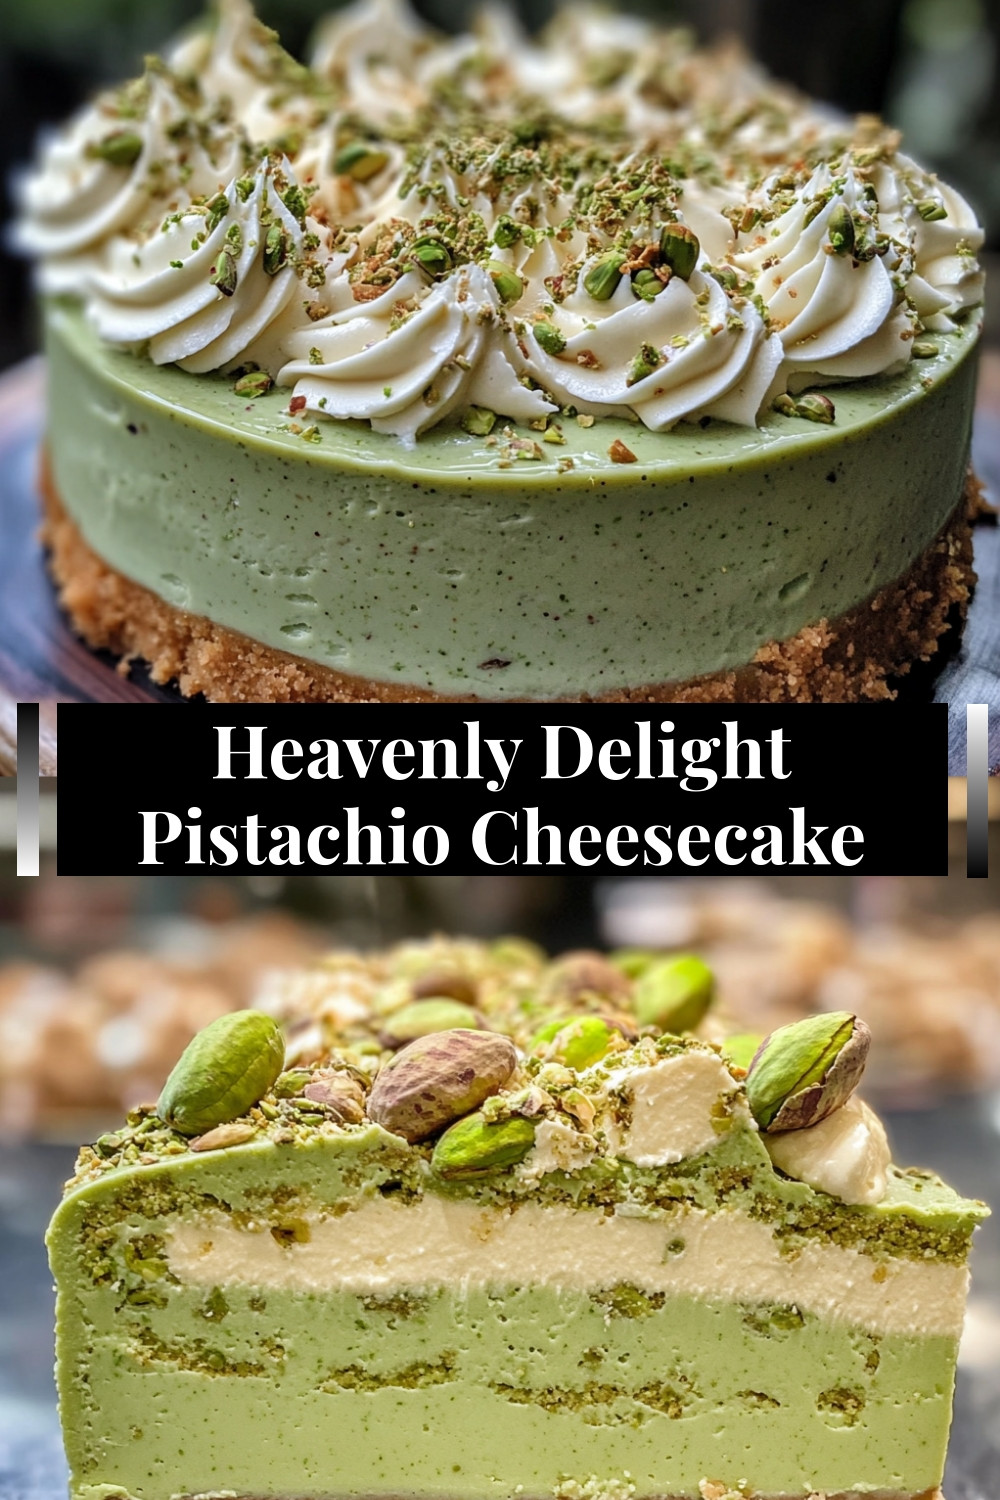
Indulge your senses with the Heavenly Delight Pistachio Cheesecake, a creamy and nutty dessert that promises pure bliss. This irresistible cheesecake combines the rich, creamy texture you love with the delightful crunch of pistachios, making it a true treat for any occasion. Perfectly balanced and full of flavor, it’s a dessert that stands out. Eager to whip it up at home? Click to explore the full recipe and bring a slice of Heaven into your kitchen today!
Ingredients
- 1 ½ cups crushed pistachios
- ½ cup unsalted butter, melted
- 2 cups cream cheese, softened
- 1 cup powdered sugar
- 1 teaspoon vanilla extract
- 1 cup heavy cream
- 1 tablespoon lemon juice
- ½ teaspoon salt
- ½ cup pistachios, chopped (for garnish)
Instructions
The foundation of your Pistachio Cheesecake is crucial. Preheating the oven sets the stage for consistent baking. As you crush the graham crackers, let yourself enjoy the simple joy of the task. After mixing the crumbs with melted butter and sugar, firmly press the mixture into the springform pan. The key is to compress it well, ensuring a solid crust that holds together after baking.
When mixing cream cheese and sugar, aim for a light and airy texture. Remember to scrape down the bowl to ensure every bit is mixed perfectly. The addition of eggs is another moment of magic—watch as the mixture transforms. Incorporating vanilla and pistachios not only enhances the flavor but also adds beautiful green specks throughout your cheesecake.
Pouring the filling over the prepared crust is where anticipation builds. Make sure the mixture is evenly distributed to avoid any uneven slices later on. Tapping the pan is a small but necessary step to achieve that perfect, smooth finish.
As the cheesecake bakes, enjoy the sweet aroma filling your kitchen. Watching it rise in the oven is thrilling! Remember, it might not look perfect at first, but the cooling process works wonders—just let it be.
Once out of the oven, exercise a little patience. The cooling period allows the flavors to meld and the texture to achieve that required creaminess. Running a knife along the edges is essential so the sides of the cheesecake don’t stick, ensuring a beautiful presentation.
The final reveal! As you slice into the Pistachio Cheesecake, notice the smooth, creamy texture. Each slice should look inviting—adorn it with whipped cream or pistachios to elevate its appearance. Take a moment to appreciate your hard work, and enjoy sharing this delightful treat!
Notes
Perfect Pairings
Consider serving your Pistachio Cheesecake with fresh fruit, such as raspberries or strawberries. Their tartness complements the creamy, nutty flavors beautifully.
Storage Tips
To maintain freshness, store leftover cheesecake in an airtight container in the refrigerator. It’s delicious cold and can last up to a week!
Customizing Flavors
Feel free to explore flavors by adding different nuts or a hint of lemon zest to the cheesecake batter. Each variation can infuse your creation with a personal touch.
- Prep Time: 20 minutes
- Cook Time: 60 minutes
Keywords: Pistachio Cheesecake

