Introduction
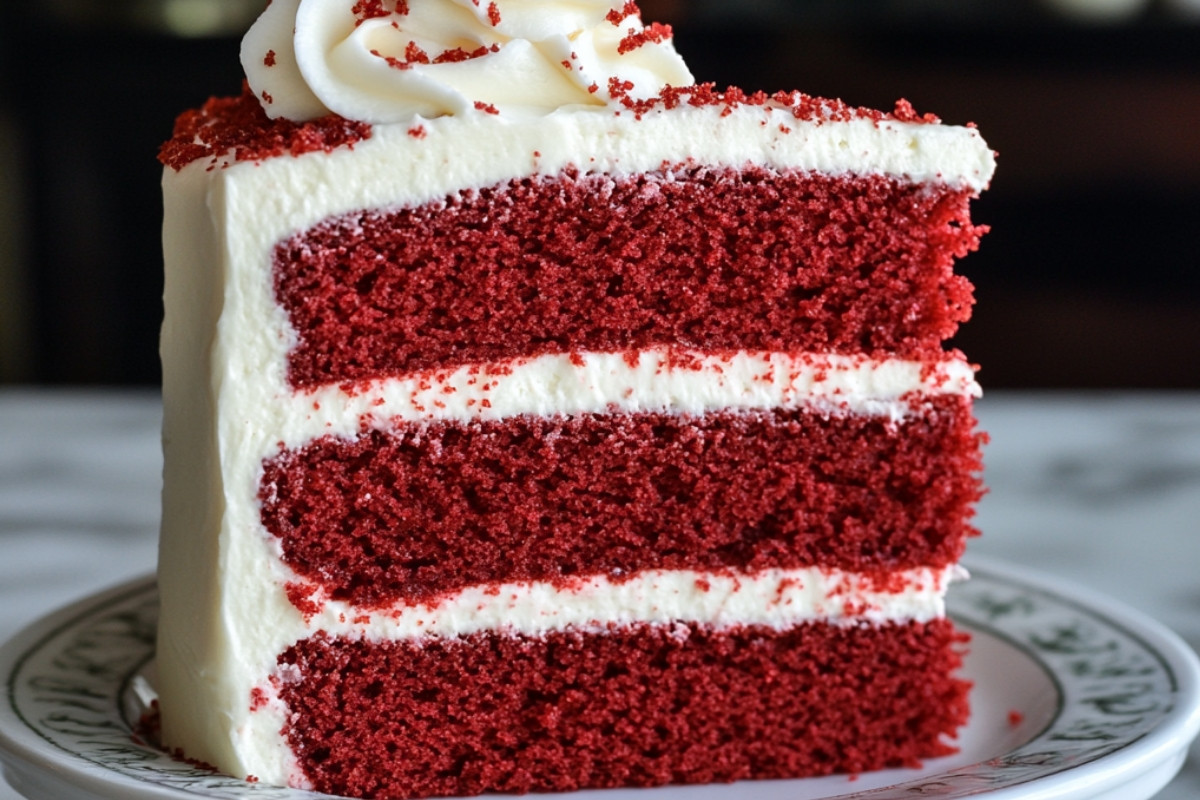
Life is a tapestry woven with moments of joy, celebration, and the sweet memories that linger long after the last bite. Imagine gathering around a candlelit table, laughter echoing as your loved ones enjoy a slice of the Irresistible Perfect Red Velvet Cake Recipe. This cake is more than just dessert; it’s a centerpiece that brings people together, a token of affection that shows you care. The rich, velvety texture combined with a delightful cream cheese frosting creates a symphony of flavors that embrace you like a warm hug, reminding you that life’s best moments are meant to be shared.
When you whip up this sensational red velvet cake, you’re not just baking; you’re creating connections. Whether it’s a birthday celebration, an anniversary, or simply an afternoon tea with friends, this cake ensures you’ll be the star of the show. The beauty of this recipe lies not just in its taste but also in the love and care infused into every step of the process. As you prepare it, anticipation fills the air, preparing you for the smiles that will light up the room. Let this delightful recipe be part of your next cherished moment.
Detailed Ingredients
- 2 ½ cups all-purpose flour
- 1 ½ cups sugar
- 1 cup vegetable oil
- 1 cup buttermilk
- 3 large eggs
- 2 tablespoons cocoa powder
- 1 ½ teaspoons baking powder
- 1 teaspoon baking soda
- 1 teaspoon salt
- 2 teaspoons vanilla extract
- 1 tablespoon red food coloring
- 8 oz cream cheese
- ½ cup unsalted butter
- 4 cups powdered sugar
- 2 teaspoons vanilla extract
Preparation Time
- Prep Time: 20 minutes
- Cook Time: 30 minutes
- Total Time: 50 minutes
- Yield: 12 servings
Why we love this recipe
The Irresistible Perfect Red Velvet Cake Recipe never fails to impress. The luscious texture balances moistness with structure, making it easy to slice yet delightful to eat. Additionally, the combination of the cream cheese frosting adds a creamy tang that enhances the cake’s rich flavors. Each bite is a celebration of contrasts, where the sweet and slightly tangy notes dance together beautifully.
Moreover, this recipe is incredibly straightforward, making it accessible for both novice and experienced bakers. You won’t need any special equipment, just a few common kitchen tools! This ease encourages you to embrace the joy of baking without feeling overwhelmed. Finally, what makes this cake truly special is the joy it spreads—whether shared as a birthday cake or a surprise treat, it’s bound to create cherished memories for everyone who takes a slice.
Step-by-Step Cooking Instructions
Now that you’ve got all the ingredients and tools ready, it’s time to turn simple components into an extraordinary red velvet cake. Follow these steps to craft a moist, luxurious cake that will have everyone craving more. Each step will guide you in mixing, baking, and decorating your masterpiece.
Detailed Directions and Instructions
Step 1: Preheat the Oven
First things first, set your oven to 350°F (175°C). Preheating your oven ensures that your cake starts baking at the right temperature, creating that perfectly soft crumb. It’s akin to warming up before a race; your cake wants to have a solid start!
Step 2: Prepare Your Cake Pans
Grab your two 9-inch round cake pans and grease them generously with butter or non-stick spray. After greasing, dust them with a little flour to prevent any sticky situations later. This way, your cakes will slide right out, waiting for their lovely layer of frosting.
Step 3: Mix the Dry Ingredients
In a mixing bowl, whisk together flour, cocoa powder, baking soda, and salt. This blend is essential for achieving that classic red velvet flavor with the perfect slight richness. Allow the aromas to stimulate your senses—cocoa always brings a delightful warmth!
Step 4: Blend the Wet Ingredients
In another bowl, beat together sugar, vegetable oil, and eggs. Add in buttermilk, red food coloring, and vanilla extract. This vibrant mixture is what gives red velvet its signature hue and moisture. Enjoy the transformation as the bright red color melds with the other ingredients.
Step 5: Combine Wet and Dry Mixtures
Gently fold the dry ingredients into the wet mixture. Stir slowly, ensuring everything is combined without over-mixing; this helps maintain that tender crumb you crave. Splashing batter around can make a mess, so keep it steady and focus on the happy task at hand.
Step 6: Pour the Batter into the Pans
Divide the luscious batter evenly between your prepared cake pans. No need for complicated tricks here; just scoop and spread it evenly. Each pan should have about the same amount to ensure uniform layers—let visual balance guide your hand!
Step 7: Bake Your Cake
Pop those pans into the preheated oven and let them bake for about 25-30 minutes. You’ll know they’re ready when a toothpick inserted into the center comes out clean. Use this time to enjoy the comforting aroma wafting through your kitchen!
Step 8: Cool the Cakes
Once baked, take the cakes out and set them aside to cool in the pans for 10 minutes. After that, gently turn them out onto wire racks to cool completely. Cooking time is about control, so let the cakes relax; the cooling process helps finalize their structure.
Step 9: Frost Your Cake
Whip up a rich cream cheese frosting by beating softened cream cheese and butter, then mix in powdered sugar and a splash of vanilla. Spread this delightful frosting generously between your cooled cake layers and on top. The thick frosting adds a creamy contrast to your velvety layers.
Step 10: Decorate
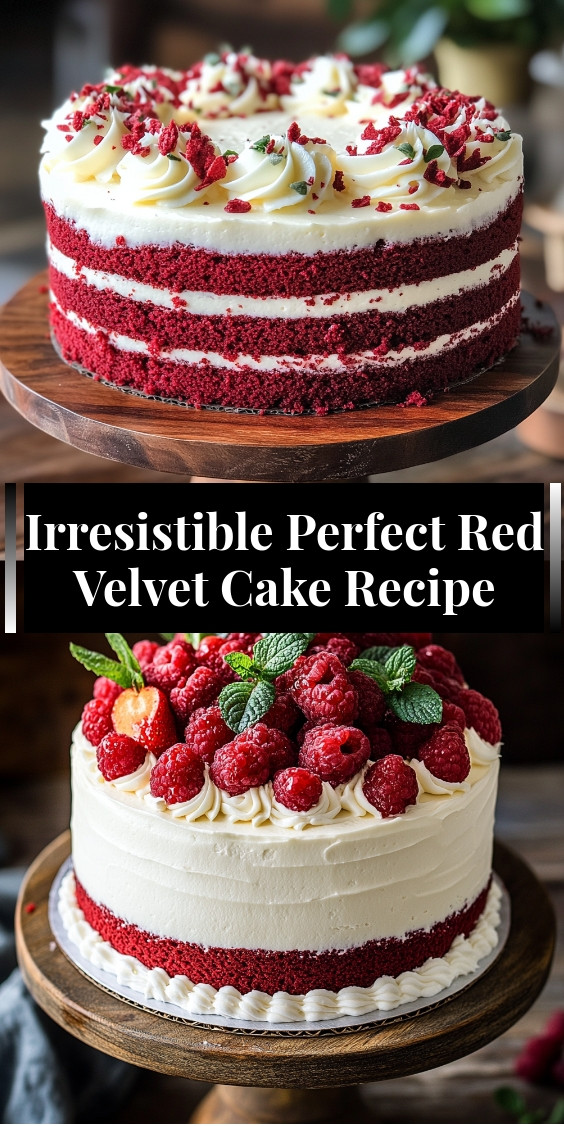
For a show-stopping finish, add decorative elements like sprinkles, chocolate shavings, or fresh berries on top. These touches elevate your red velvet cake from simple to stunning, adding a personal flair. Your cake is now ready to impress with its festive appearance!
Notes
Note 1: Using Room Temperature Ingredients
Ensure your eggs, buttermilk, and butter are at room temperature before mixing. This step creates a smoother batter, which results in a more delightful texture. It’s time to say goodbye to cold!
Note 2: Choosing the Right Cocoa Powder
For authentic flavor, use high-quality cocoa powder. The robustness of flavor significantly impacts the end result of your cake, making it richer and more decadent.
Note 3: Spicing it Up
You can add a hint of cinnamon or nutmeg to the batter for a warm spice sensation. This twist gives your red velvet cake a unique personality that tantalizes taste buds!
Making It Your Own
Don’t hesitate to have fun with flavors! Consider experimenting with different types of frosting, such as a white chocolate ganache or a tangy citrus cream, to give your cake a unique twist. Personalizing recipes is part of the joy of baking, so let creativity lead the way.
Storage Tips for Leftovers
If you happen to have any cake remaining, store it properly! Keep your layered beauty in an airtight container in the refrigerator. When ready to indulge again, just take it out and let it sit at room temperature for a little while; this restores its moistness.
Why Red Velvet?
Undoubtedly, red velvet cake is extraordinary with its festive color and rich taste. It’s perfect for celebrations, bringing joy and vibrancy to any gathering. The combination of flavors and textures creates an unforgettable experience for anyone lucky enough to enjoy a slice.
Cook techniques
Mixing the Ingredients
Using the right method to combine the ingredients is essential for achieving the perfect texture. Start by creaming the butter and sugar together until light and fluffy. This aeration is crucial for a tender cake. Gradually incorporate the eggs, followed by the dry ingredients and buttermilk, ensuring not to overmix.
Coloring the Cake
The vibrant red color of the cake comes from the addition of red food coloring. It’s important to balance the intensity of the color with the cocoa powder; too much cocoa can alter the desired shade. Experiment with different brands of food coloring for the perfect hue.
Layering Techniques
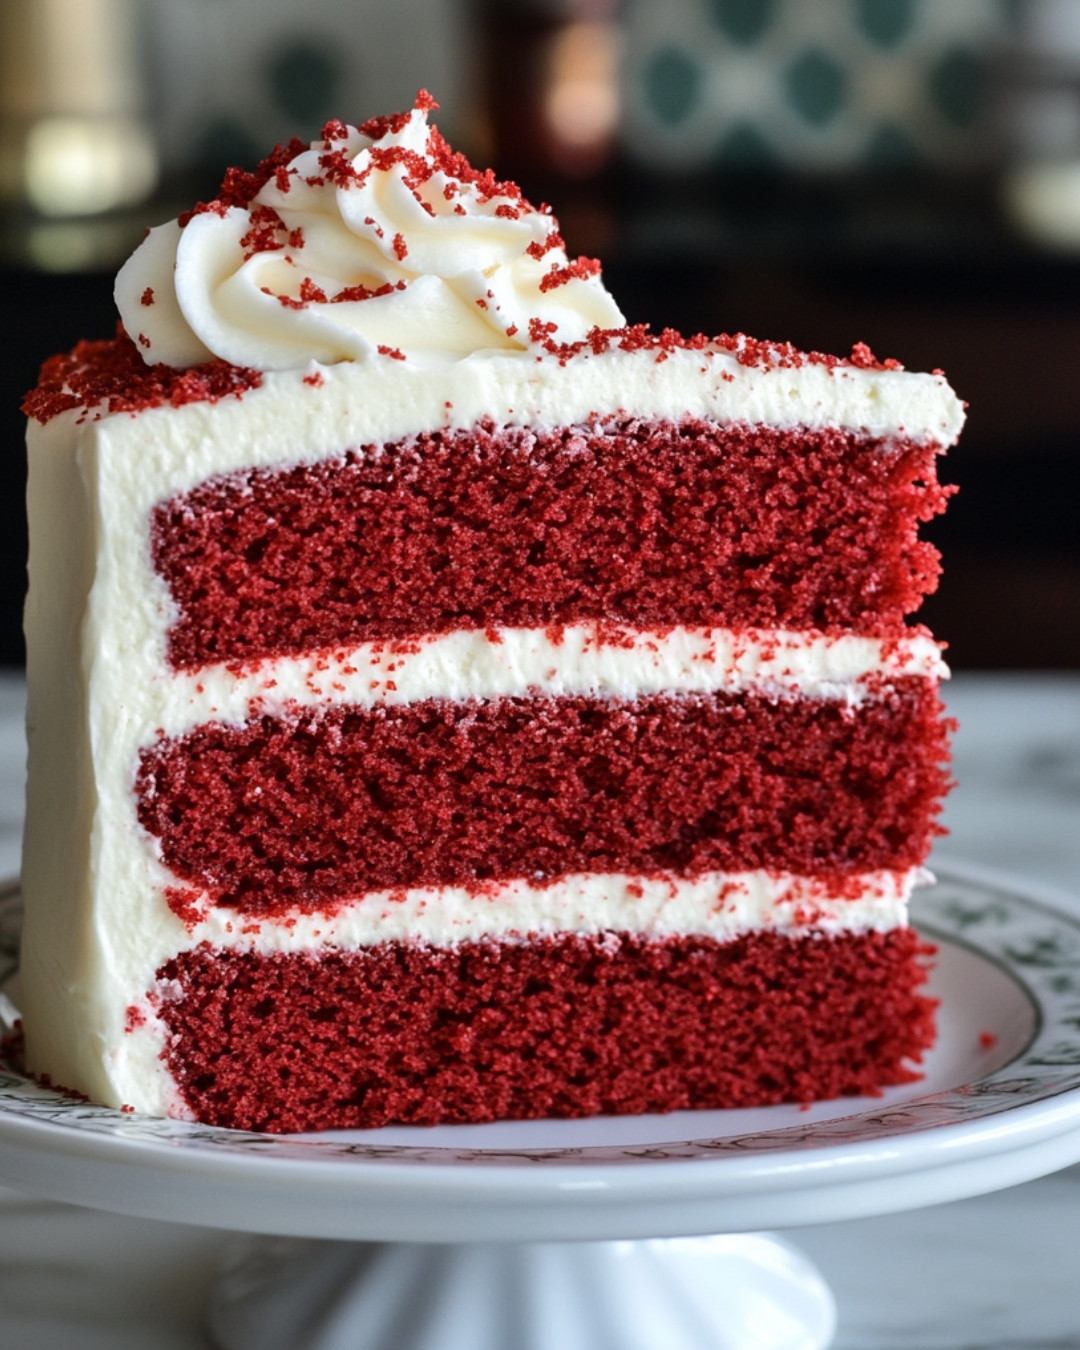
When it comes to layering, ensure each layer of cake is level for a professional finish. Use a serrated knife to trim the tops of the cakes if necessary. Always use a sturdy cake board between layers to support the cake during cutting and serving.
Serving and Presentation Ideas:
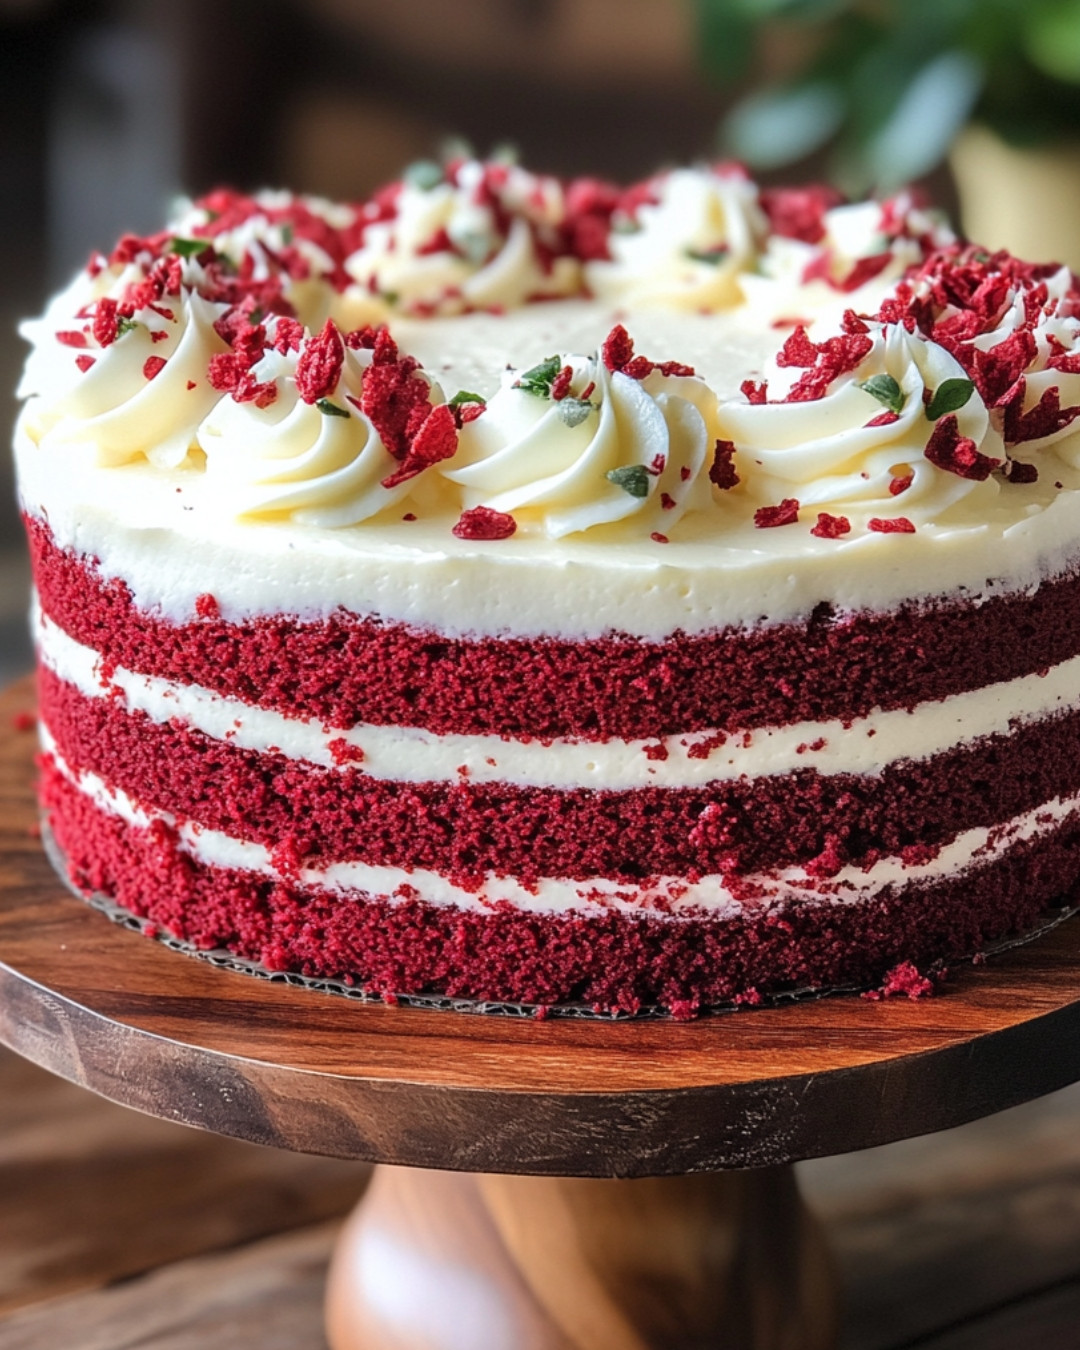
Present your red velvet cake on a beautiful cake stand to elevate its visual appeal. Top the cake with a dollop of cream cheese frosting and fresh berries for a pop of color. Pair with a rich chocolate sauce or a scoop of vanilla ice cream for an indulgent dessert experience.
People Also Ask:
What is the flavor of red velvet cake? Red velvet cake has a unique flavor profile, often described as a mild cocoa flavor with a hint of tanginess from the buttermilk and cream cheese frosting.
Is red velvet just red chocolate cake? While red velvet cake does contain cocoa powder, it is not simply red chocolate cake. The combination of buttermilk, vinegar, and cocoa gives it a distinct flavor and texture.
Why is it called red velvet? The term “velvet” refers to the rich, smooth texture of the cake, while the red color is believed to come from the interaction of cocoa with acidic ingredients, plus the addition of red dye.
What is the difference between red velvet cake and normal cake? The key differences lie in the ingredients and taste. Red velvet cake has cocoa powder, buttermilk, and vinegar, giving it a unique flavor and a beautiful red hue, unlike normal cake.
What is velvet made of? In the context of cake, “velvet” refers to the use of finely milled flour and the technique used in mixing to create a soft, moist texture that mimics the softness of velvet fabric.
FAQ
Can I bake red velvet cake in advance?
Yes, you can prepare the cake layers in advance. Store them in an airtight container in the fridge for up to 3 days or freeze them for longer freshness. Allow them to come to room temperature before frosting.
Can I use oil instead of butter?
Absolutely! Using oil can make the cake even more moist. Just ensure you use a neutral-flavored oil to maintain the cake’s overall taste.
What type of frosting is best for red velvet cake?
Cream cheese frosting is the classic choice for red velvet cake. Its tanginess beautifully complements the sweet cake. However, buttercream or whipped cream can also be delicious alternatives.
How long does red velvet cake last?
When stored properly, red velvet cake can last about 3 to 5 days at room temperature or up to a week in the refrigerator. For longer preservation, consider freezing the cake.
Can I make a gluten-free version?
Yes, by substituting regular flour with a high-quality gluten-free flour blend, you can create a gluten-free red velvet cake that still retains great flavor and texture.
Conclusion
Red velvet cake stands as an enduring classic, celebrated for its vibrant color and delightful flavor. The process of creating this cake is not only about the final product but also about enjoying the artistry of baking. Each layer holds the potential for joy, whether it’s a special occasion or simply a treat for yourself. May your baking journey be filled with creativity, and we invite you to share your experiences as you try out this delightful recipe. What unique twist have you added to make it your own?
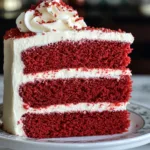
Irresistible Perfect Red Velvet Cake Recipe
- Total Time: 50 minutes
- Yield: 12 servings 1x
Description
Looking for a red velvet cake everyone will love? This recipe is foolproof! It’s rich, moist, and topped with the creamiest cream cheese frosting. Perfect for birthdays, holidays, or any special occasion. Simple ingredients and easy steps make this the only recipe you’ll ever need. Bake a cake that’s buttery, bright red, and soft in every bite. Get started today and impress your friends and family!
Ingredients
- 2 ½ cups all-purpose flour
- 1 ½ cups sugar
- 1 cup vegetable oil
- 1 cup buttermilk
- 3 large eggs
- 2 tablespoons cocoa powder
- 1 ½ teaspoons baking powder
- 1 teaspoon baking soda
- 1 teaspoon salt
- 2 teaspoons vanilla extract
- 1 tablespoon red food coloring
- 8 oz cream cheese
- ½ cup unsalted butter
- 4 cups powdered sugar
- 2 teaspoons vanilla extract
Instructions
First things first, set your oven to 350°F (175°C). Preheating your oven ensures that your cake starts baking at the right temperature, creating that perfectly soft crumb. It’s akin to warming up before a race; your cake wants to have a solid start!
Grab your two 9-inch round cake pans and grease them generously with butter or non-stick spray. After greasing, dust them with a little flour to prevent any sticky situations later. This way, your cakes will slide right out, waiting for their lovely layer of frosting.
In a mixing bowl, whisk together flour, cocoa powder, baking soda, and salt. This blend is essential for achieving that classic red velvet flavor with the perfect slight richness. Allow the aromas to stimulate your senses—cocoa always brings a delightful warmth!
In another bowl, beat together sugar, vegetable oil, and eggs. Add in buttermilk, red food coloring, and vanilla extract. This vibrant mixture is what gives red velvet its signature hue and moisture. Enjoy the transformation as the bright red color melds with the other ingredients.
Gently fold the dry ingredients into the wet mixture. Stir slowly, ensuring everything is combined without over-mixing; this helps maintain that tender crumb you crave. Splashing batter around can make a mess, so keep it steady and focus on the happy task at hand.
Divide the luscious batter evenly between your prepared cake pans. No need for complicated tricks here; just scoop and spread it evenly. Each pan should have about the same amount to ensure uniform layers—let visual balance guide your hand!
Pop those pans into the preheated oven and let them bake for about 25-30 minutes. You’ll know they’re ready when a toothpick inserted into the center comes out clean. Use this time to enjoy the comforting aroma wafting through your kitchen!
Once baked, take the cakes out and set them aside to cool in the pans for 10 minutes. After that, gently turn them out onto wire racks to cool completely. Cooking time is about control, so let the cakes relax; the cooling process helps finalize their structure.
Whip up a rich cream cheese frosting by beating softened cream cheese and butter, then mix in powdered sugar and a splash of vanilla. Spread this delightful frosting generously between your cooled cake layers and on top. The thick frosting adds a creamy contrast to your velvety layers.
For a show-stopping finish, add decorative elements like sprinkles, chocolate shavings, or fresh berries on top. These touches elevate your red velvet cake from simple to stunning, adding a personal flair. Your cake is now ready to impress with its festive appearance!
Notes
Note 1: Using Room Temperature Ingredients
Ensure your eggs, buttermilk, and butter are at room temperature before mixing. This step creates a smoother batter, which results in a more delightful texture. It’s time to say goodbye to cold!
Note 2: Choosing the Right Cocoa Powder
For authentic flavor, use high-quality cocoa powder. The robustness of flavor significantly impacts the end result of your cake, making it richer and more decadent.
Note 3: Spicing it Up
You can add a hint of cinnamon or nutmeg to the batter for a warm spice sensation. This twist gives your red velvet cake a unique personality that tantalizes taste buds!
- Prep Time: 20 minutes
- Cook Time: 30 minutes
Keywords: Red Velvet Cake
